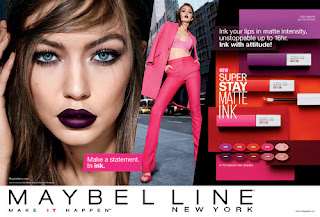
Logo Design 1


1)This screenshot shows me using the rectangle tool (M) to make my blocks that i had draw in my sketch down previously.

2)Once I had done this with the three different blocks I used the type tool (T) to write down the name. I found a font style that is very similar to the original Maybellien font.

3)Then I attempted to create my own N and Y. I used the black line that you can see to move around and make block lettering. This wasn't my favourer so i will be going back to work on this.

1)The next development was that I wanted to created the logo like the same as before but not have the slight white gap in between the blocks so this time I used the (M) tool again to redraw the blocks out and leave now gaps. I coloured these the same as the others on with the blue as well using the eyedropper tool (I).

2)In this screenshot all I did was copy and pasted the Maybelline text over for the middle panel and then used the (T) tool to create a N and Y in the same font instead of using my own lettering as I wasn't a fan of how that turned out and wanted to see how it looked with default text. I didn't like the harshness of the dark black agents the blue so I turned the transparency down to 50% and liked that much better so left it at 50% from then on.

1)The next experiment that I wanted to test out was to play with the colouring of the logo which I talked about on my overall document but how I did this was by by selecting the box I wanted to colour and then double clicking on the colour box in the bottom left panel. This then brings up the big colour grid you can see on the screenshot.

1)After I played with both of the last logos being connecting blocks I went back to making them spaced again. In this screenshot I has copied and pasted over first logo I made taking out the N and Y. This left be with the same slight gap like i first did.

2)I then copied and pasted in the 50% transparency N and Y so that I could see the preferred text with the slight gap between the blocks. I wanted to be throw with my development making sure that I am looking at all the options.

1)Lastly I moved onto the last logo I made in this development. The change I made in this first screenshot was moving up and down the blocks so that the white gap is slightly bigger. I did this by selecting the block I wanted to move and pressing the up arrow on my keyboard twice.

2)In this next screenshot you see that the N and Y have been put in as well as me using the line segment tool (\) to start to make the fine line around the blocks.

3)In this final shot you can see the finished line work. If you couldn't see I let the line finish at the middle block so the line doesn't go around it all, I like this as its different and not expected.
Comments
Post a Comment